Table of Contents
Introduction
Migrate a domain by changing its nameservers is a critical process that requires careful planning and execution to avoid downtime and maintain the functionality of your website and email services. Nameservers are responsible for directing internet traffic to your domain, so updating them must be done precisely. This guide provides a comprehensive, step-by-step approach to ensure a smooth transition, from understanding your current setup to monitoring the changes post-migrate. By following these steps, you can ensure a safe and efficient migrate of your domain’s nameservers.
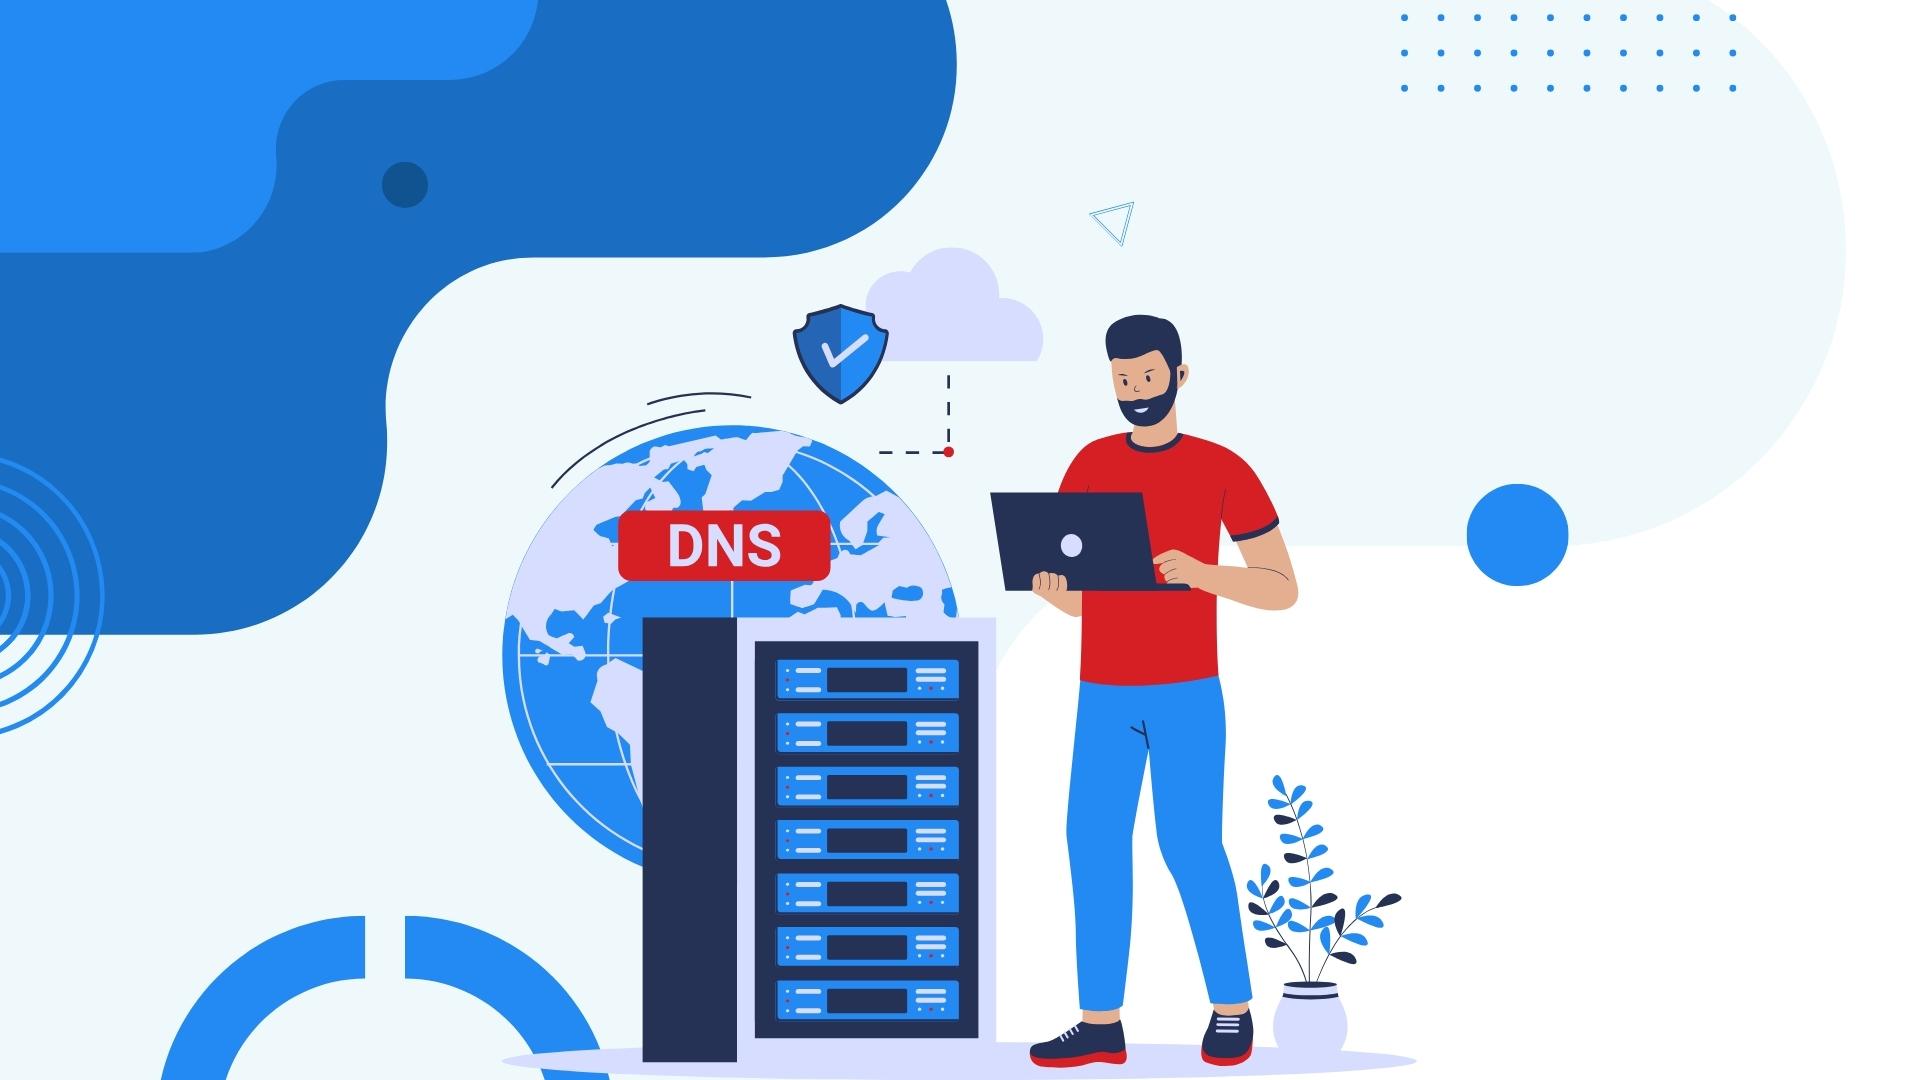
What is nameservers?

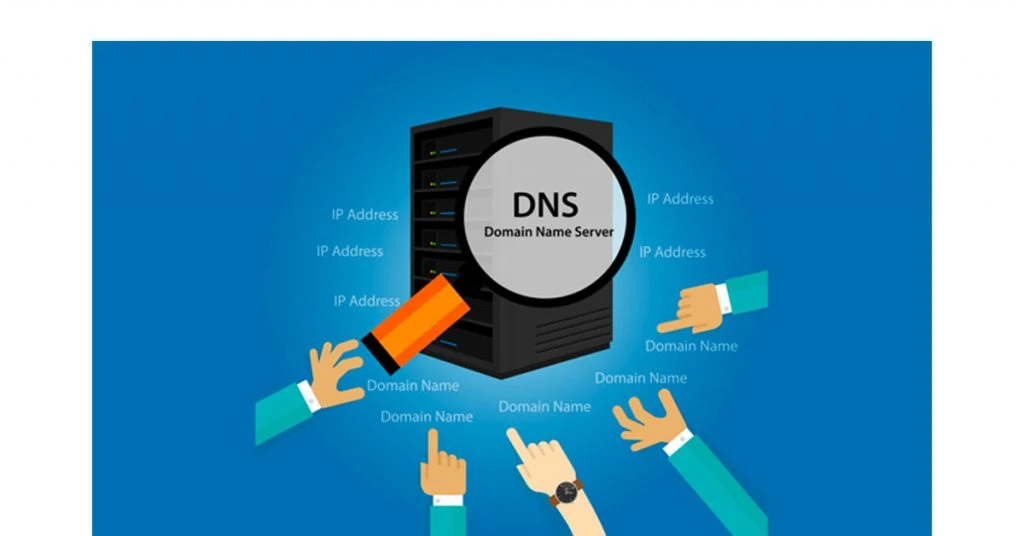
Nameservers are a crucial component of the Domain Name System (DNS), which is responsible for translating human-readable domain names (like www.example.com) into IP addresses that computers use to identify each other on the network. Here’s a more detailed explanation:
Nameservers are specialized servers on the internet that handle queries regarding the location of a domain’s services. When you type a domain name into your web browser, the nameserver helps direct your request to the correct IP address where the website is hosted.
How Nameservers Work
- Domain Name Query: When you enter a domain name into your browser, the query is first sent to a DNS resolver, typically provided by your ISP.
- DNS Resolver Query: The DNS resolver queries a root nameserver to find out which authoritative nameserver is responsible for the top-level domain (TLD) (e.g., .com, .org).
- TLD Nameserver Query: The resolver then queries the TLD nameserver to get the authoritative nameserver for the specific domain (e.g., example.com).
- Authoritative Nameserver Query: Finally, the resolver queries the authoritative nameserver for the domain to get the IP address associated with it.
- IP Address Returned: The IP address is returned to the DNS resolver, which sends it back to your browser, allowing it to connect to the web server hosting the website.
Importance of Nameservers
- Direct Traffic: Nameservers are essential for directing internet traffic to the correct IP addresses where websites and email services are hosted.
- Manage DNS Records: They store DNS records, including A records (which point to IP addresses), MX records (which specify mail servers), CNAME records (which create aliases), and others.
- Domain Management: They allow domain owners to manage where their domain points without needing to remember complex IP addresses.
Example of Nameservers
If you own the domain “example.com” and you use a hosting service, your hosting provider will give you nameservers like:
- ns1.hostingprovider.com
- ns2.hostingprovider.com
You would then update your domain registrar with these nameserver addresses to ensure that queries for “example.com” are directed to your hosting provider.
Changing Nameservers
Changing nameservers involves updating the settings at your domain registrar to point to new nameservers provided by your new DNS provider. This is typically done to improve performance, reliability, or to use features offered by another DNS provider.
In summary, nameservers play a vital role in the DNS infrastructure, ensuring that domain names can be correctly resolved to their corresponding IP addresses, allowing users to access websites and online services seamlessly.
Migrate Your Domain: How to Change Nameservers Safely
Migrate a domain involves changing its nameservers, which are crucial for directing where your domain points. Doing this safely ensures minimal downtime and maintains website functionality. Here’s a step-by-step guide to help you change nameservers safely:
1. Understand Your Current Setup
- Identify Current Nameservers: Note down your current nameservers for reference.
- Backup DNS Records: Export your DNS records from your current provider. This typically includes A, CNAME, MX, TXT, and other records.
2. Choose Your New DNS Provider
- Select a Reliable DNS Provider: Choose a provider known for reliability and features that suit your needs (e.g., Cloudflare, Google Domains, AWS Route 53).
- Create an Account: Set up an account with your new DNS provider if you don’t already have one.
3. Prepare Your New DNS Settings
- Import or Manually Enter DNS Records: Add all your DNS records to the new provider. Ensure accuracy to avoid service interruptions.
- Review and Verify Records: Double-check that all records are correct and correspond to those from the old provider.
4. Update Nameservers at Your Domain Registrar
- Access Domain Management: Log in to your domain registrar’s control panel.
- Locate Nameserver Settings: Find where you can update your domain’s nameservers.
- Enter New Nameservers: Replace the old nameservers with the new ones provided by your new DNS provider.
- Save Changes: Confirm and save the new settings.
5. Propagation and Testing
- Propagation Time: Allow 24-48 hours for the DNS changes to propagate worldwide. During this period, both the old and new DNS settings might work intermittently.
- Monitor and Test: Check your website and email services regularly to ensure they are functioning correctly. Use online tools like DNS Checker to track propagation progress.
- Fix Issues Promptly: Address any issues immediately by verifying your DNS settings and making necessary adjustments.
6. Final Steps
- Monitor Performance: Keep an eye on your website and email performance for a few days to ensure stability.
- Update Any Hardcoded References: If you have hardcoded references to your old nameservers or DNS provider’s IP addresses, update them accordingly.
Tips for a Smooth Transition
- Perform Changes During Low Traffic Times: Schedule the change during periods of low website traffic to minimize impact.
- Inform Stakeholders: Notify stakeholders of the planned maintenance window and potential temporary disruptions.
- Have Support on Standby: Ensure technical support is available in case you encounter issues during the migrate.
Conclusion
Changing nameservers is a crucial task that, when done correctly, ensures your domain’s seamless operation with minimal downtime. By carefully preparing your new DNS settings, updating your domain registrar, and monitoring the propagation process, you can migrate your domain safely. Remember to perform the migrate during low traffic times and keep stakeholders informed to minimize disruptions. Following these best practices will help you achieve a smooth transition and maintain the stability and performance of your website and email services.