
To create an email ID in the Webuzo control panel, follow these steps:
Table of Contents
Introduction
Managing email accounts is a crucial aspect of maintaining a professional online presence, whether for personal use or business operations. The Webuzo control panel provides a user-friendly interface to create and manage email accounts for your domain. Understanding how to navigate this process ensures that you can effectively communicate with clients, customers, or colleagues through a personalized email address associated with your domain.
Let’s see to create an email ID in the Webuzo control panel
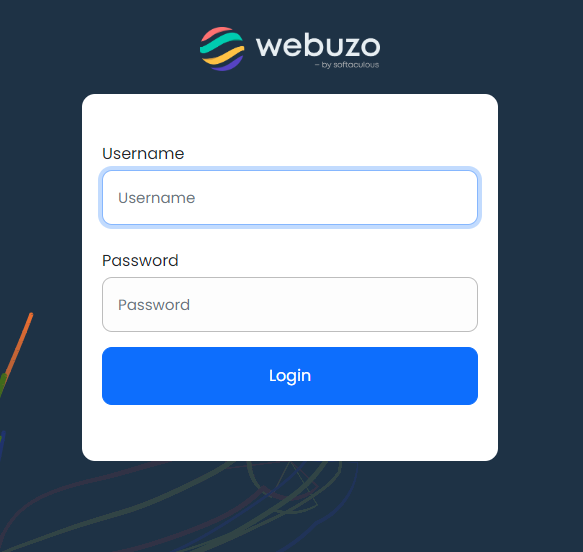
Step 1: Log in to Webuzo
- Open your web browser and go to the Webuzo login page.
- Enter your login credentials (username and password) to access the control panel.
Step 2: Navigate to the Email Section
- Once logged in, find the “Email” section in the Webuzo dashboard. This is usually located in the left-hand sidebar or under the “Apps” tab.
- Click on “Email Accounts” to open the email management interface.
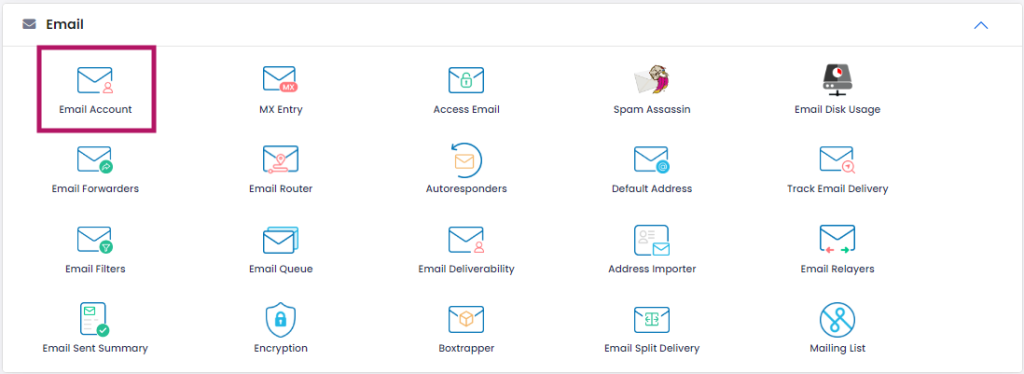
Step 3: Create a New Email Account
In the “Email Accounts” section, you should see an option to “create” or something similar. Click on it.

Fill in the required details:
- Email Address: Enter the desired email address (e.g.,
yourname@yourdomain.com). - Password: Choose a strong password for the email account.
- Mailbox Quota: Set the storage limit for the email account (optional).

Once all details are filled in, click “Save Account” or “Add” to create the email account.
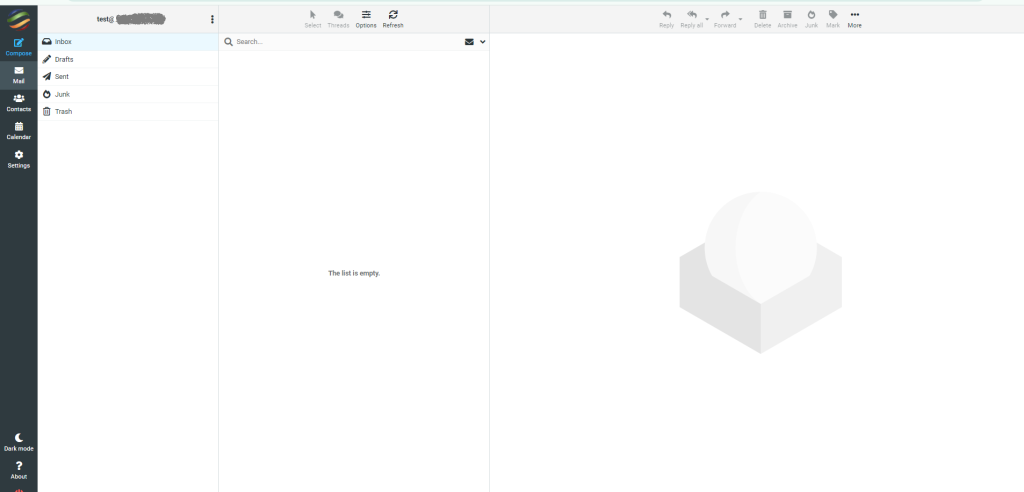
Step 4: Access Your Email Account
- After creating the email account, you can access it via Webmail or configure it in an email client like Outlook, Thunderbird, or your mobile device.

2. For Webmail access, look for the “Webmail” option in the Webuzo control panel or use the URL yourdomain.com/webmail.
Step 5: Manage Email Accounts
- You can manage all your email accounts, including changing passwords, setting forwarding rules, and adjusting quotas, from the same “Email Accounts” section.
That’s it! You’ve successfully created an email ID in the Webuzo control panel.
Conclusion
Creating an email ID in the Webuzo control panel is a straightforward process that empowers you to establish a professional communication channel under your domain. By following the outlined steps, you can easily set up and manage email accounts, ensuring that you have full control over your domain’s email services. Whether you’re setting up an account for yourself or your team, Webuzo makes it simple to maintain a secure and organized email system.