
Creating a user account in Webuzo Control Panel involves several steps. Webuzo is a hosting control panel that allows you to manage domains, install applications, and perform various server management tasks. Here’s how you can create a user account:
Table of Contents
Introduction
Managing a web server efficiently requires the ability to delegate tasks and responsibilities. Whether you’re hosting multiple websites or managing a team, creating user accounts in the Webuzo Control Panel is an essential skill for any server administrator. Webuzo, known for its user-friendly interface, simplifies the process of adding and managing users. In this guide, we’ll walk you through the step-by-step process of creating a new user account in Webuzo, ensuring you can easily manage your server’s access and resources.
Let’s see the steps for creating an user account in webuzo
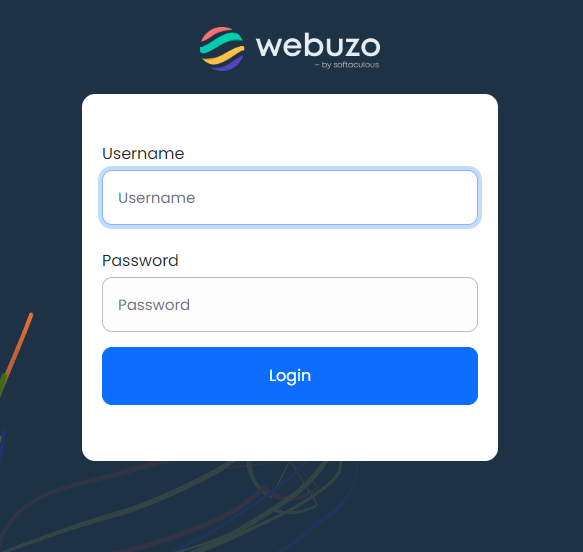
Step 1: Log in to the Webuzo Admin Panel
Open your web browser and navigate to the Webuzo login page. It usually looks like this: http://your-server-ip:2087 (for the admin panel).Enter your Admin Username and Password. Click Login to access the Webuzo Admin Panel.
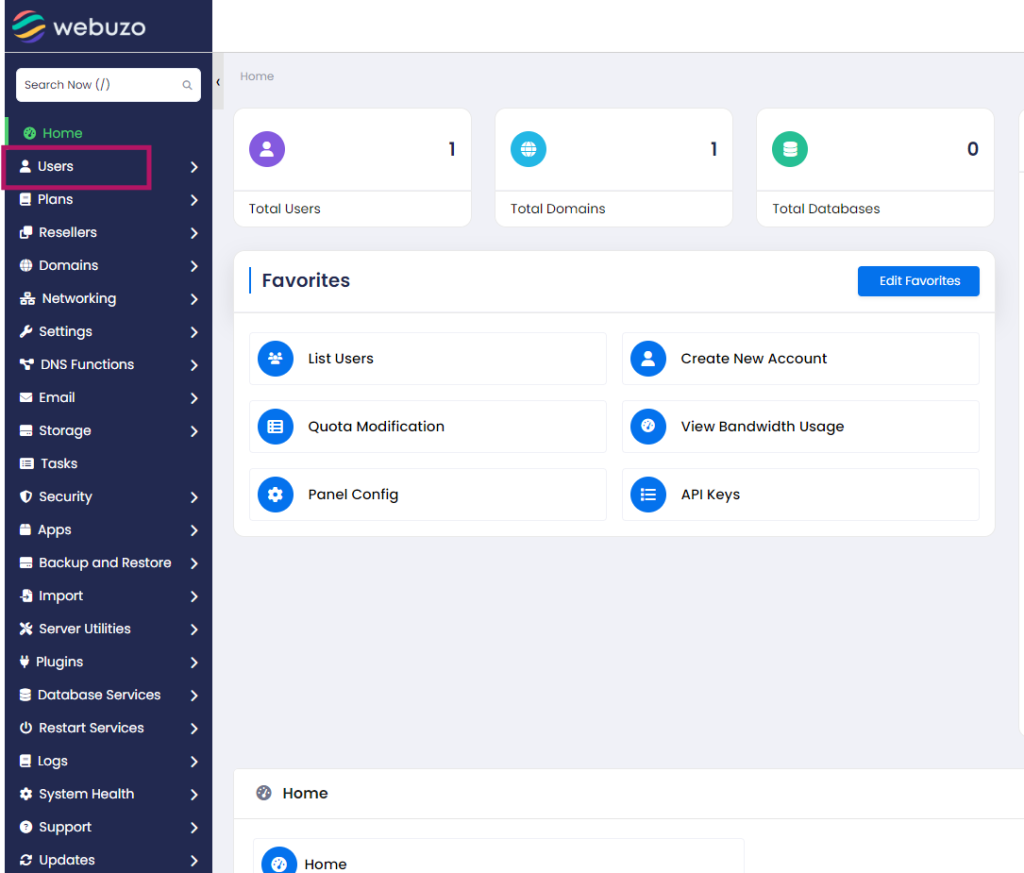
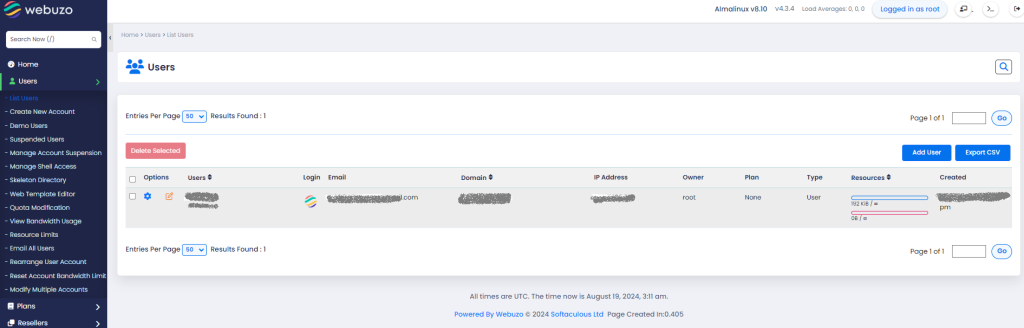
Step 2: Navigate to the User Management Section
- Once logged in, go to the Admin Panel.
- Look for the Users section, which might be under Server Settings or a similar category.
- Click on Manage Users.
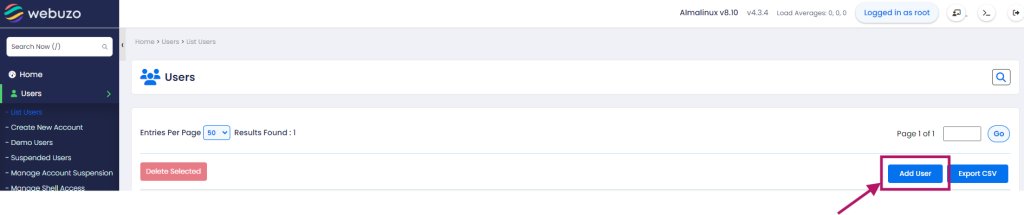
Step 3: Create a New User
- In the Users section, look for an option like List User or Add User.
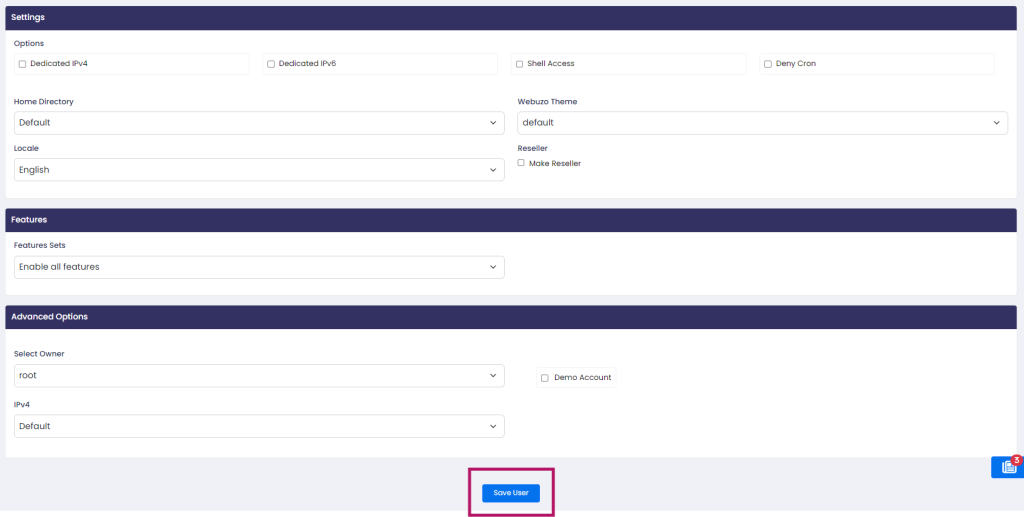
- Fill in the required details:
- Username: The name the user will use to log in.
- Password: A secure password for the user.
- Domain: The domain associated with this user (optional, depending on the setup).

- Set permissions for the user as needed. You can typically specify which features and applications the user can access.
- After filling in the details, click Create or Save User.
Step 4: Confirm the Creation
- After creating the user, you should see a confirmation message.
- The new user should now appear in your list of users. They can log in using the details you provided.
Step 5: Provide Login Details to the User
- Give the user their Username and Password.
- Provide the login URL, usually
http://your-server-ip:2087(for user access). - They can log in and manage their assigned resources.
That’s it! The new user is now set up in the Webuzo control panel.
Conclusion
Creating and managing user accounts in the Webuzo Control Panel is a straightforward process that greatly enhances your ability to manage server resources and user access. By following the steps outlined in this guide, you can efficiently delegate control, improve security, and streamline the management of your web hosting environment. Whether you’re managing a single site or multiple domains, Webuzo’s user management features make it easy to maintain control while allowing users the flexibility they need.