
Table of Contents
Introduction
Securing sensitive directories on your website is essential for protecting critical data. cPanel offers a built-in feature that allows you to password-protect specific directories, preventing unauthorized access. By enabling directory password protection, you can ensure that only authorized users can view or modify files within protected areas. This guide will walk you through the steps to enable directory password protection in cPanel.
What is Directory pass – protection?
Directory password protection is a security feature that allows you to restrict access to specific directories (folders) on your website by requiring a username and password to view or enter those areas. This additional layer of authentication ensures that only authorized users can access sensitive files or sections of a website.
Commonly used in web hosting control panels like cPanel, this feature is especially helpful for protecting admin areas (e.g., WordPress wp-admin), private content, or development environments that shouldn’t be publicly accessible.
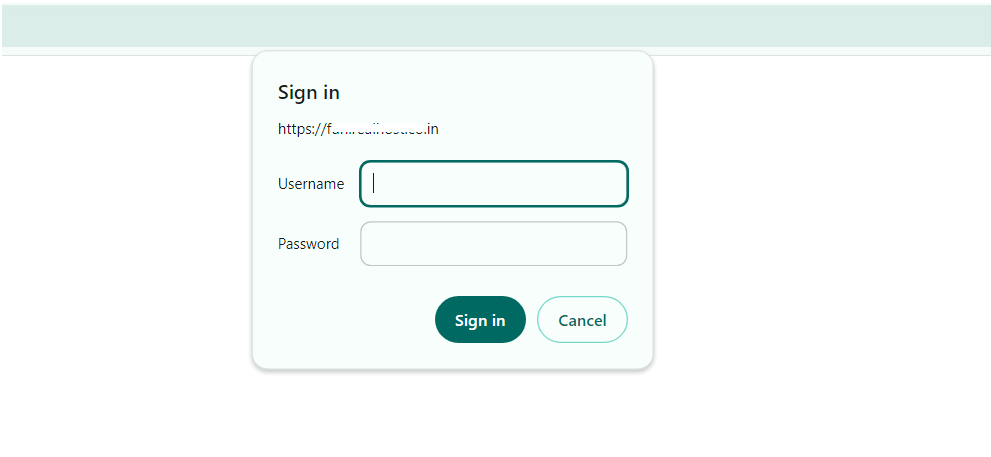
When enabled, users trying to access the protected directory will be prompted to enter valid login credentials. This reduces the risk of unauthorized access, protecting important data and helping prevent malicious activity such as brute force attacks or unauthorized modifications.
Use Cases for Directory Password Protection:
- WordPress Admin (wp-admin): Adding another layer of security for the admin login page.
- Development/Testing Environments: Restricting access to staging sites or development versions of a website.
- Private Content: Protecting sensitive documents or files from public view.
- Membership Areas: Ensuring that only registered or approved users can access exclusive content.
Steps for enabling the directory password.
Here are the steps for enabling the Directory password protection in cPanel.

- Log in to cPanel.

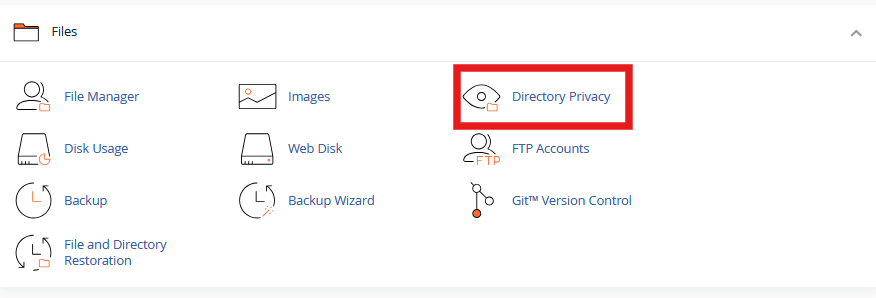
2. Under the “Files” section, click on “Directory Privacy” (or “Password Protect Directories”).
3. Navigate to the public_html directory.
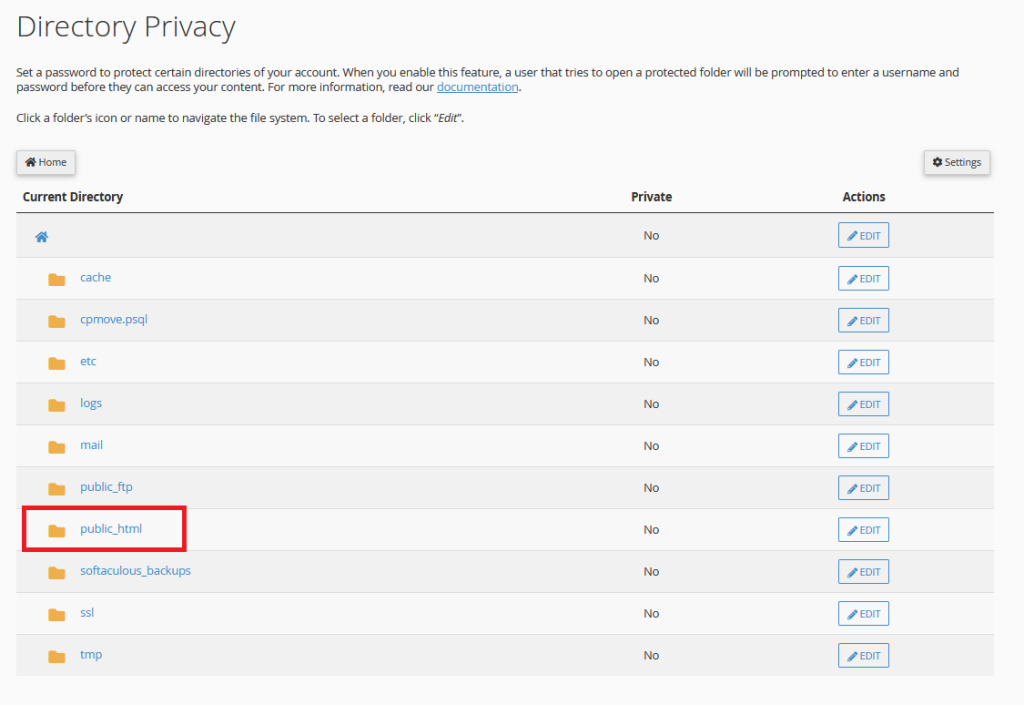
4. Click on “Edit” button straight to the domain’s folder name.

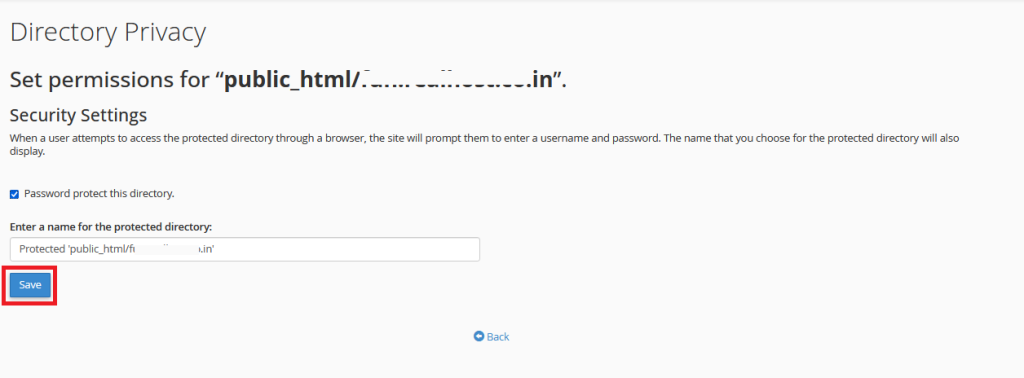
5. Enable the check box of password protected directory and click “Save”.
6. Click –> Go Back.

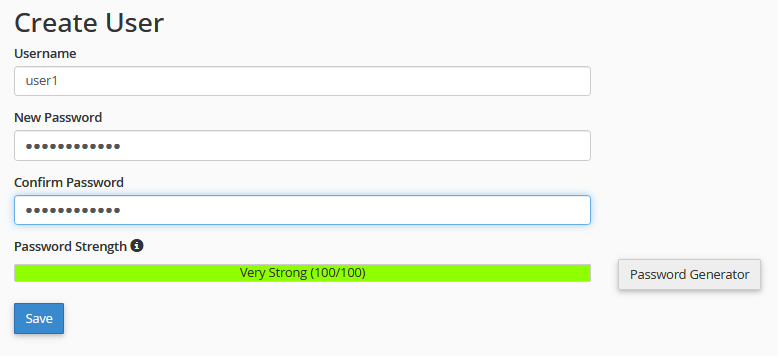
7. Once entered the “Username” & “Password” Click “Save” to apply the password protection.
8. You will get a Success message only the password was applied.

You can cross check the same by seeing the path with lock symbol.

Now, the directory will be password-protected, and users will need the login credentials to access it.
Conclusion
Enabling directory password protection in cPanel is a simple yet effective way to secure critical parts of your website. By following these steps, you can safeguard sensitive information, ensuring that only authorized users can access protected areas. This feature adds an extra layer of defense, helping you maintain control over your web content and enhance site security.